User:Beltranrubo/BitNami Multisite
Contents
Installing WordPress Multisite stack
What is Wordpress Multisite Stack?
BitNami WordPress Multisite stack simplifies the installation of WordPress Multisite Network and its required dependencies. A Multisite Network is similar to your regular WordPress blog but it lets you create more blogs on demand. It is a collection of sites that all share the same WordPress installation. They can also share plugins and themes and it is indicated for organizations, communities or user groups. This Stack is configured out of the box to use different domains or subdomains for each blog.
You can download the latest version of BitNami Wordpress Multisite stack for Windows, Linux and OS X at https://bitnami.com/stack/wordpress-multisite. It can be deployed using a native installer, as a virtual machine or as an AMI to the Amazon cloud.
Installing WordPress Multisite
Once you have downloaded the installer (the filename will be similar to bitnami-wordpress-VERSION-multisite-installer), double click on the icon to launch the installer. Note: If you are using Linux you will have to give executable permissions to the file first, using this command:
chmod +x /path/to/bitnami-wordpress-VERSION-multisite-linux-installer.bin
WordPress multisite requires to be installed in the default port: 80. For this reason it is necessary on Linux systems to run the installer as root user in Linux machines.
If you see the following error message:
"Unable to bind to the 80 port number. WordPress Multisite only supports this port for the Apache server."
It is possible that you are not running the installer as root user or is there any other application using this port (for example Skype or a web server). To run the installer as the root user on Linux, you will need to execute it using sudo (for example if you are running Ubuntu) :
sudo /path/to/bitnami-wordpress-VERSION-multisite-linux-installer.run
or become root first with the following command, and then execute the installer:
su -l
If you are using OS X, the installer will ask you for the Administrator password automatically. You can also run the Stack as root user from a Terminal:
$ sudo /path/to/bitnami-wordpress-VERSION-multisite-linux-installer.app/Contents/MacOS/installbuilder.sh
If you are using Windows, run the executable installer (.EXE file) as Administrator if possible or give Admin privilege when asked.
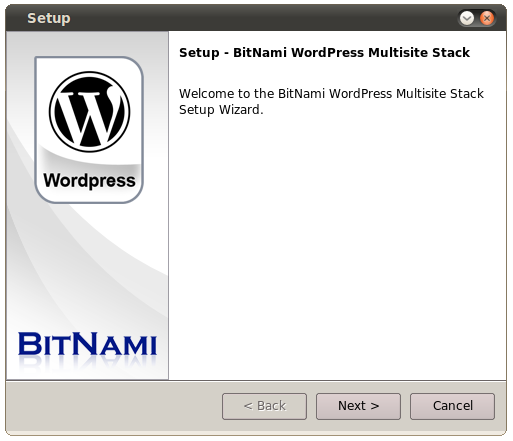
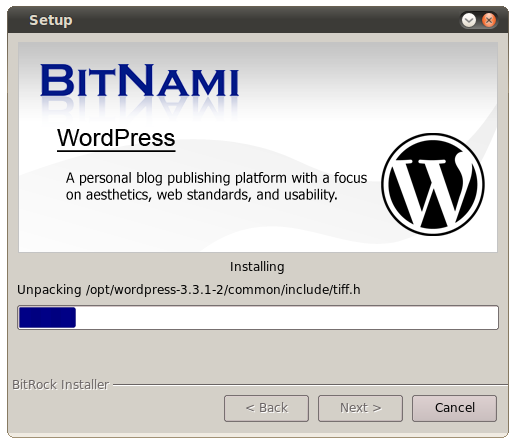
Once the installation process starts, it will look like the following:
In the Component Selection page you can enable or disable phpMyAdmin application installation. This application is a tool written in PHP intended to handle the administration of MySQL over the Web.
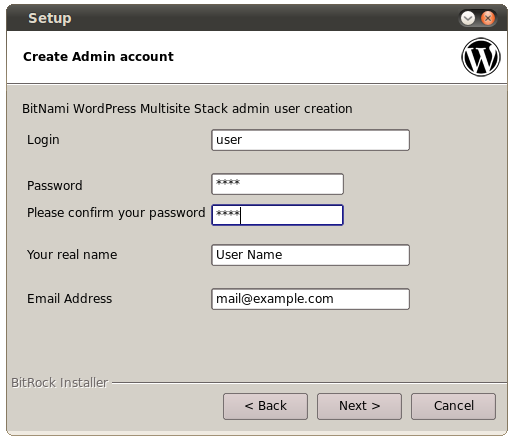
In the following page you can configure the Admin user credentials for the WordPress Multisite application. You can configure the "login" and "password" for the Administrator. You can also specify your name and your email address.
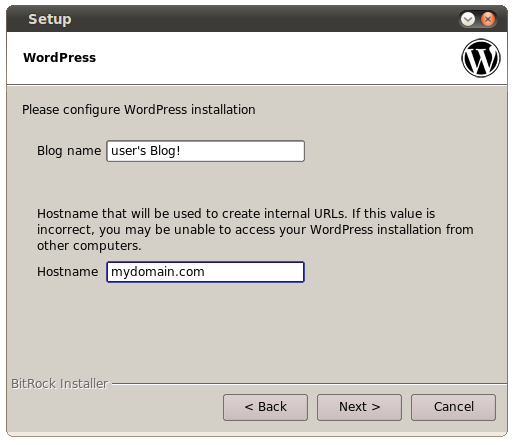
In the next screen, you can configure the Blog name and your domain. It is necessary that your domain already points to your machine. If you do not have any domain, you can create it in your hosts file. For example:
127.0.0.1 mydomain.com
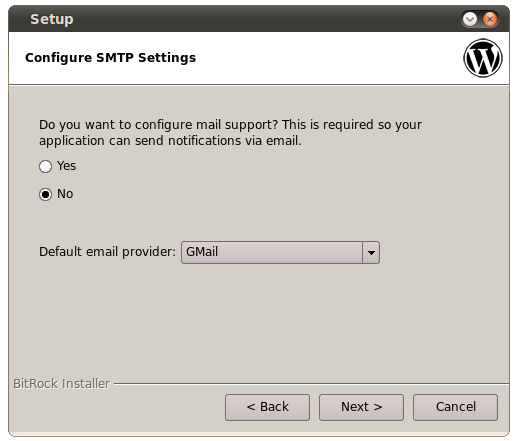
You can also configure the email settings for the application. This is required so your application be able to send emails. If you use a GMail account, you only have to specify your user and password. If not, you should have to specify the SMTP settings of your email provider.
The Stack is copying the files and configuring WordPress Multisite.
That's all!
How to configure the domain for different blogs
You can add a new Site from the Network Admin panel. In this case, the site address is automatically configured for creating a subdomain. This only works if you have previously configured your domain to accept wildcards (*.mydomain.com). For example: site1.mydomain.com, site2.mydomain.com, etc. You can see how to configure wildcards subdomains at Configuring Wildcard Subdomains.
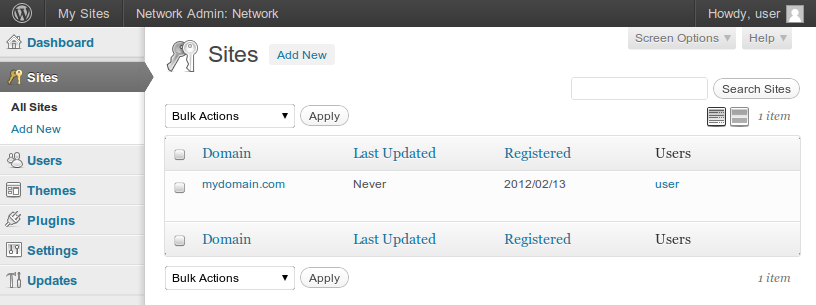
You can also create a new site with a different domain (not a subdomain). To do that, go to your "Sites" page and check that it is the root blog.
If you want to create a new site, WordPress Multisite automatically configures your new site in a subdomain. If you want to create a totally new domain, do not worry about that, you can modify it later.
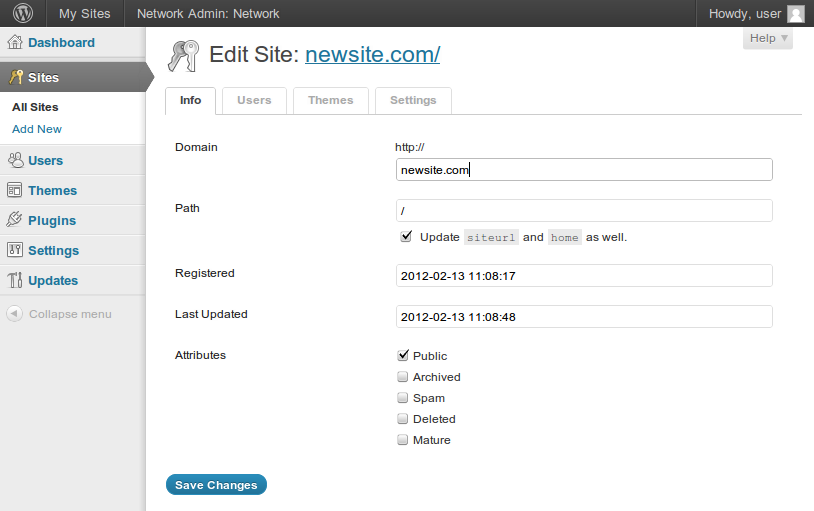
Once you have created your site, you can edit it. In this case you can change the new site domain. In this case you can have several blogs in different domains. For example: myblog1.com, newblog2.com, atotallynewblog3.com, etc. It is only necessary that you point your domain to the WordPress machine IP address from your domain provider.
Installing Wordpress Multisite manually
Follow the instructions outlined here
