Interested in functions, hooks, classes, or methods? Check out the new WordPress Code Reference!
User:Modronmarch/Cloning a WordPress Website with Plesk WordPress Toolkit
Cloning a WordPress Website Using Plesk WordPress Toolkit
Cloning a WordPress website is creating a full copy including all website files, databases, and settings. There are plenty of reasons why you might want to do that. For example, you may want to:
- Make a publicly available copy of your staging WordPress site (or vice versa).
- Create a "Master copy" WordPress site and clone it every time you begin working on a new project.
- Deploy a number of copies of a WordPress site to make small changes to each one to see which one you like best.
Of course, you can clone WordPress manually or google some handy plugins to deal with this tedious routine. However, if you use Plesk and have domains with WordPress websites assigned to them, you can easily clone WordPress website via Plesk WordPress Toolkit. Let’s see how to do it.
- Log in to Plesk.
- In the upper right corner of the screen, click WordPress.
- Click the Clone button, next to the name of the WordPress installation you want to clone.
- In the opened Clone My CMS window, click new subdomain link and specify the location and the name of a website clone.
- You have the following options:
- New subdomain. Type in the desired subdomain name. Then, select the desired parent domain.
- Existing domain or subdomain. Use an existing domain or a subdomain on the same or another subscription. Select the desired domain or the subdomain from the list.
Note: Make sure the domain or subdomain selected as the destination is not used by an existing website. During cloning, website data existing on the destination may be overwritten and irrevocably lost.
- During cloning, a database will be created for the copied WordPress installation. Click the automatically generated database name (for example, wordpress_4) to change it. If multiple MySQL servers are registered in Plesk, you can select which one will host the database.
- When you are satisfied with the selected location and the database name, click OK.
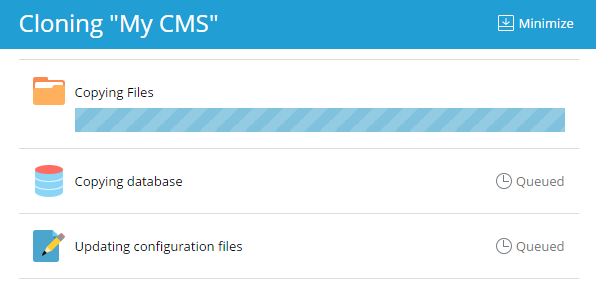
- The cloning has started.
- When the cloning is finished, the new cloned website will be displayed in the list of WordPress installations.
- Here it is! A WordPress website was cloned.


