Uploading WordPress to a remote host
Languages: English • Français • Italiano • WordPress to a remote host 日本語 Português do Brasil • (Add your language)
(This is part 2 of the Using FileZilla guide.)
To upload (or delete) files and folders to your web host, you will need an FTP application. One of many free options that are at your disposal is FileZilla. Though written using screenshots from a Windows XP machine, using FileZilla, the following instructions carry over to just about every FTP client with a GUI (Graphical User Interface). You may want to read how to Set up FileZilla for your server, before you read the following.
Uploading Files
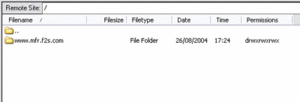
How your server is setup differs from host to host. The screen shots you see here show two generic hosts:
Your screen could have htdocs or public_html where the screenshots show mainwebsite_html.
To install WordPress double-click the one that is web-root directory for webpages on your server. This is usually named htdocs, public_html, mainwebsite_html, www, web, or something very similar. The other folders are not of consequence in installing WordPress.
You should now see listing of files and folders that are contained inside your server's root folder. Just how many there are depends on what and how much you have on your website.
The point of this exercise is to upload WordPress, so let us continue down that road:
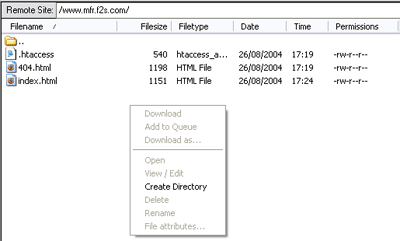
Right click in the Remote Site window:
Click Create Directory, enter the name you want, and click Okay.
NOTE: The name you choose will be where your WordPress weblog will appear, and although it can be changed later, it's much better to avoid that by choosing what you want now. For example, if your website has the URL http://example.com and you want your weblog to be located at http://example.com/blog, then name the new folder blog.
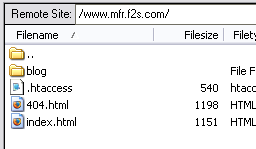
In this example, we have created the directory blog.
Now the directory blog has been made, double-click on it to open it.
Nothing there yet ... but note the folder with the dots following it -- clicking that takes you back up a folder level.
Upload WordPress
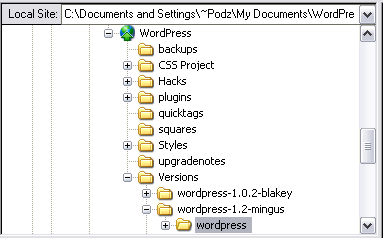
Before you begin to upload WordPress, it is essential to have downloaded WordPress, and unzipped it, on your local computer. When you unzip the downloaded .zip file, a folder called wordpress will be created. Please note the location of this folder in your computer. You may also want to prepare the downloaded files for installation, by reading Installing WordPress and completing the relevant steps, such as editing wp-config-sample.php.
In the top window of Local Site group, find your way to where you have the WordPress folder on your computer after unzipping the zip file that you downloaded.
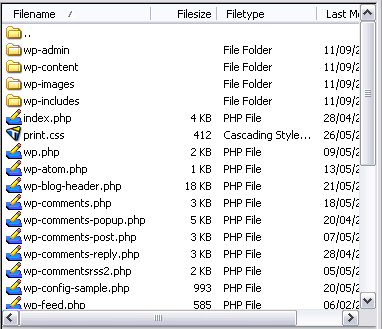
When you have found it and clicked the wordpress folder, the window underneath that will show the contents of said folder:
Hold the SHIFT key , and press the DOWN arrow on the keyboard to highlight all the files and folders in that window.
Now RIGHT-click, and choose Upload from the menu. Now watch ...... everything should be uploaded straight to your website.
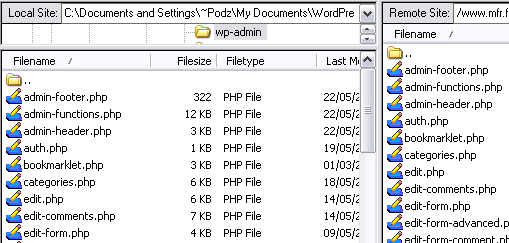
Once that has happened, then whatever is in the server window should be on your computer window. The blog folder on the server, and the wordpress folder on your computer should be identical with regards to the contents.
Click on folders -- such as wp-admin -- in both windows and check that each window has the same list of files and folders.
This concludes the guide for uploading files to your server, using an FTP client, FileZilla, especially with regard to installing WordPress.
You may want to read more about Changing File Permissions and seeing hidden files on the server.
